
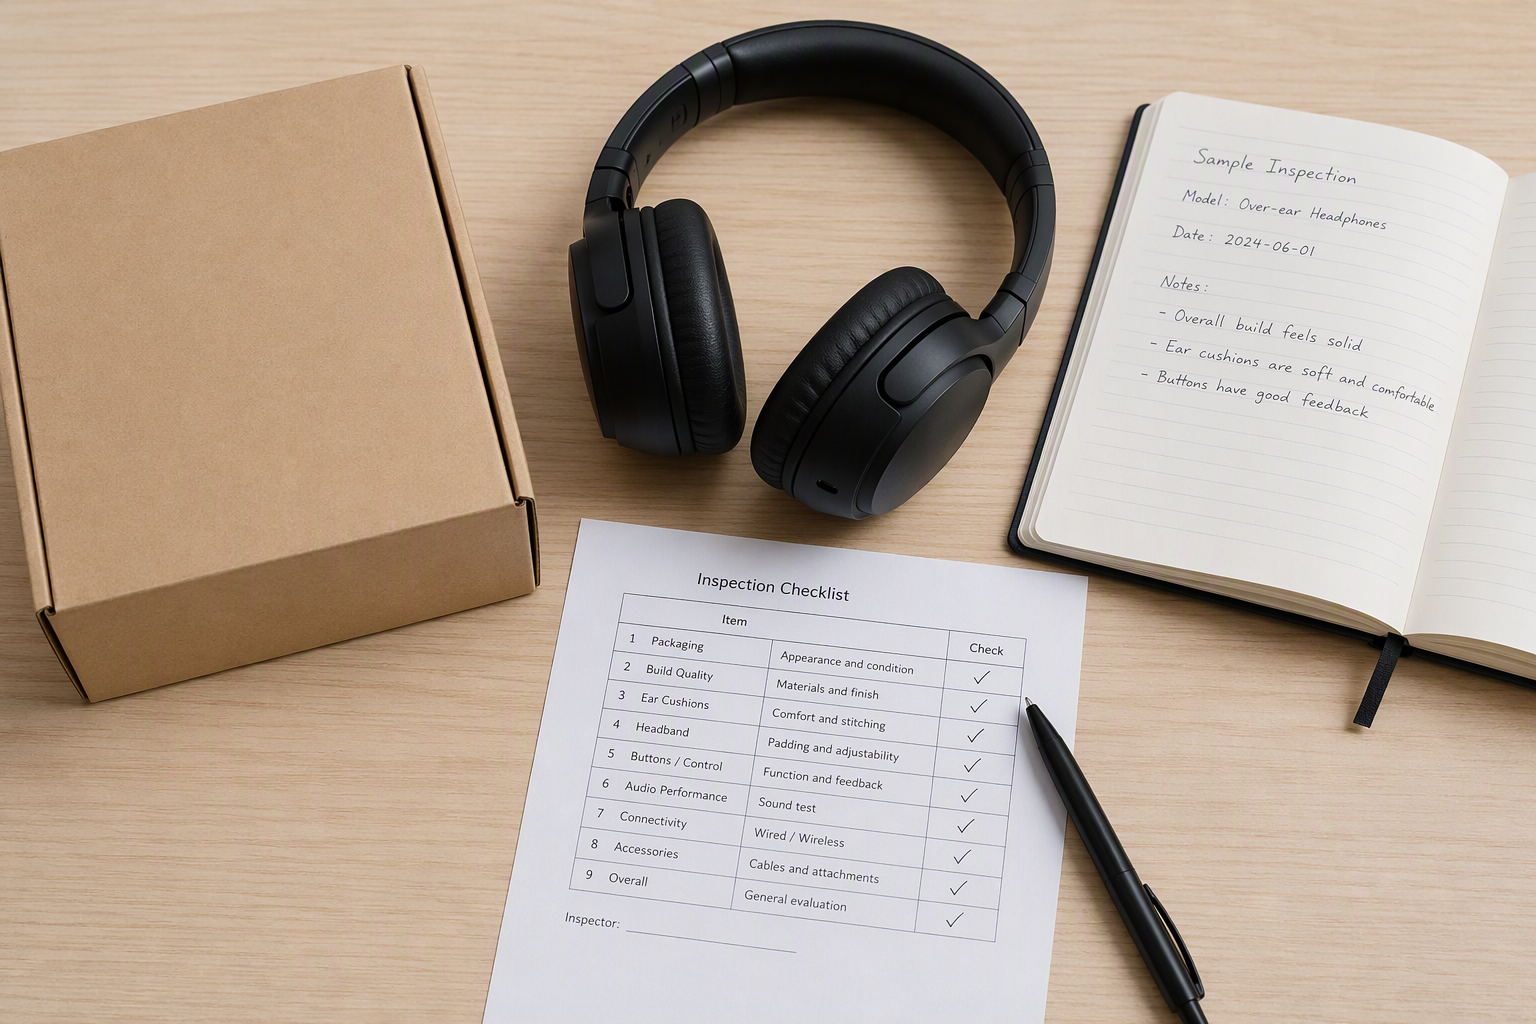
Receiving your first OEM headphone sample is an important milestone — it is your chance to confirm the factory understood your requirements before mass production begins. A systematic inspection now saves you from costly surprises later. Here is what to check.
1. Appearance and build quality
Look at the whole unit before you touch any function. Check the housing, ear cushions, hinges and cable (if wired) for scratches, gaps, uneven seams, loose parts or sharp edges. Compare against the specifications you agreed: color, material, weight and overall feel.
Housing and joints: no cracks, gaps or rough edges
Finishing: even color, no visible glue or scratches
Logo or printing: position and quality match what you approved
2. Wearing comfort
Comfort decides whether customers keep the product. Wear the sample for a realistic period — at least ten to fifteen minutes — and note any pressure points, overheating or instability.
Clamping force: too tight or too loose
Ear cushion material and softness
Headband adjustment: smooth and holds position
3. Connection and basic functions
Pair or plug in the sample exactly as an end customer would. Confirm it connects reliably and the controls work as described.
Wired: plug fits firmly and audio plays without crackling
Bluetooth: pairing is stable and reconnects after being turned off
Buttons or touch controls: each action matches the agreed function
4. Sound and microphone experience
You are checking everyday experience, not running a laboratory test. Play normal content and make a short call to judge the basics.
Audio: clear at normal volume, no constant distortion or hiss
Microphone: the other side can hear you clearly in a quiet room
Balance: left and right channels both work
5. Packaging
Confirm the sample arrives the way the product will ship. Check the box, inserts and any labeling.
Box condition and structure
Accessories and manuals are present
Labeling matches what you approved
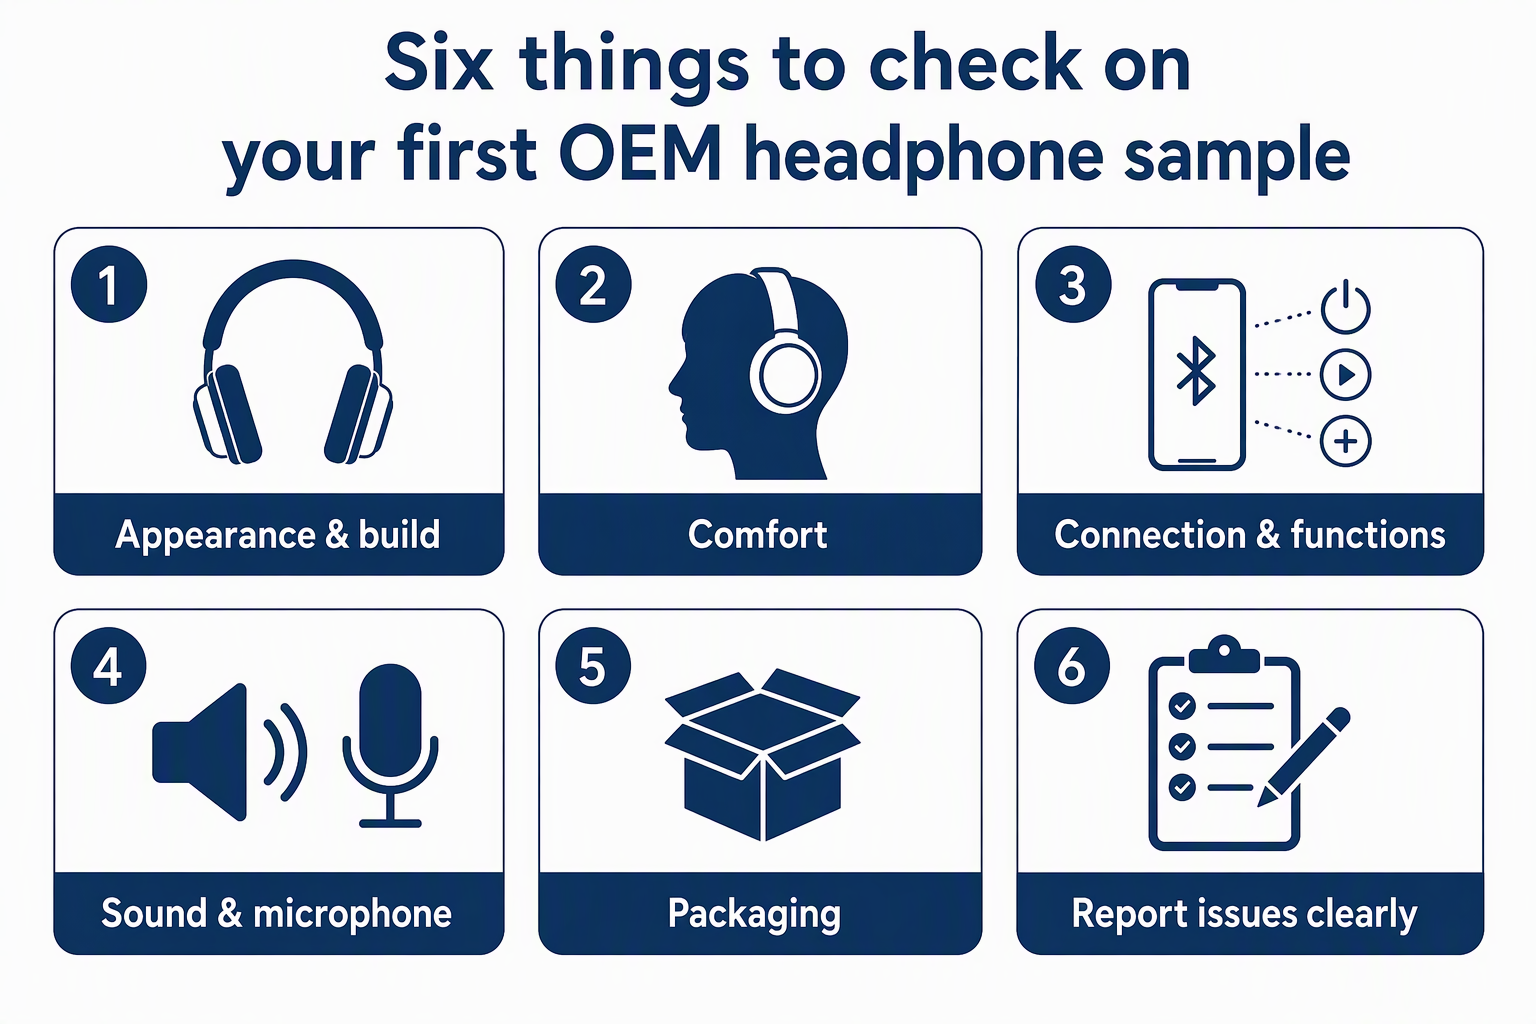
6. Report issues clearly
A clear report helps the factory fix problems quickly. List each issue separately with a short description, where it happens and a photo when possible.
State what you observed, not just a verdict
Separate critical issues from minor preferences
Ask for the factory's corrective plan and revised sample timeline
A careful first-sample check protects both you and the factory. It turns small problems into clear action items before they become expensive mistakes on the production line.